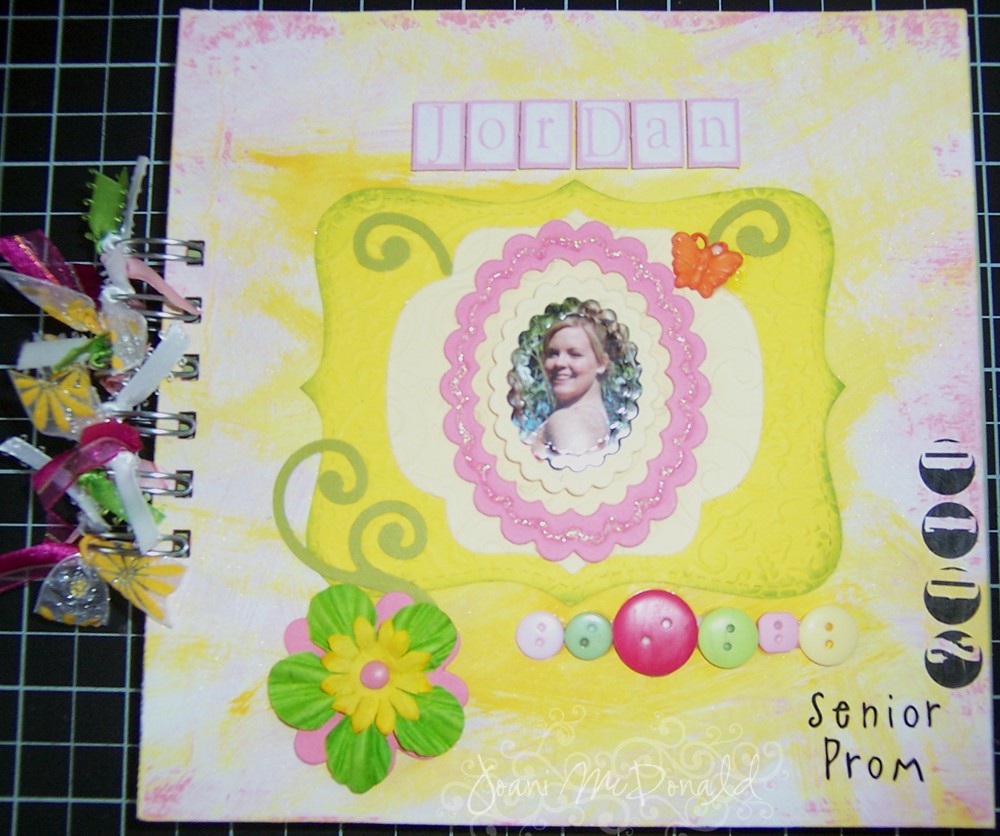
Happy Monday everybody! I hope that the weekend went well for you. This weekend started off busy busy for me. I took Danielle prom dress shopping! Ugh. I'm supposed to love shopping with my daughter. Isn't that something that Mother's look forward to? Well, not me. I can only hope that in the years to come I will learn to love it. Oh, don't get me wrong ~ my favorite past time is shopping. But with a 16 year old, um - no. She is so picky. We were not that picky were we? Really, were we?
We started out at this one store on Main Street. We were in there for 2 hours!! There was another lady who had her daughter in there too. She said this is the 2
nd week of trying to find a prom dress and this was her last stop. Oh, someone who knew my pain.... Of course there was nothing in there and we went to another store.
Ahhhh, yes!! We found it. Thank goodness, I was about to lose it! I will post a picture of Danielle when prom rolls around.
I do want to remind you all of the blog candy that I have going on. There is still 3 spaces left. You can read the full post
here....
So, are you ready for something?
Remember last week when I showed you a picture of this?

Well, being in a pinch I needed a "pad" to be able to use my
Nesties to emboss. So I was told about this rubber mat that Lowe's might have in the plumbing section. I searched the store and did not find anything, but I did find this. It's a rubberized shelf liner. I thought we'll what the heck. Worse case I can use it for it's intended purpose, on a shelf.
To use it I just cut my
nestie image like you would normally. Working from the bottom up it's the "A" plate, "C" plate then "B" plate.

Once you've cut out your image you will remove the "C" plate. So the
nestie image is cutting side up on the "A" plate.

You will then take your piece of "foam", which I cut at 5 1/2" by 12" and fold it in 1/2. So now you have (from the bottom up) your "A" plate, your
nestie and paper (cutting side up), your foam piece and 3 sheets of
cardstock as a shim.

I tried it with 2 pieces of
cardstock and it did not impress as well, so yes, 3 sheets are needed. Then place your TWO "B" plates on top of that. If you notice I then take the entire sandwich and place it just under the lip of the machine and push. I push just a bit to where the handle moves just slightly.

I then roll it
thru the machine, first forward

then backward. It does not hurt to roll it back towards you. And it gives it another press to help it make the impression.

Then once you are done here is the end result.

I'm always looking for ways to use one thing or another. And when you run it thru the machine to emboss the foam does not cut from the die being face up. I think that this roll will last me forever!!
Ok ~ now are you ready for a card?
I'm working on Easter cards right now. I've got a few to get together to take over to the Peddler's Mall. Here's one I made this weekend.

This image is from Great Impressions. I stamped the image and colored it with my pencils and gamsol. The base card is Purely Pomegranate layered with Soft Sky and DP from Reminisce. I sponged Purely Pomegranate ink around the image and layered that on to Soft Sky and Purely Pomegranate. Before I adhered the layered I made the bow for the left side of the card. Once the bow and image was in place I stamped the sentiment "happy easter" from my Bunny Hugs set in Purely Pomegranate ink and cut the oval and the scallop oval out with my nesties. I then added some black dots around the oval before I adhered it to the card with pop dots.
Sorry for the long post today. My fingers were just rambling on and on and on..... I've got more for you tomorrow!!!
Here's to wishing you a great day!
Hugs,
Joani